Set up
Sign in to Rows in Excel and the portal
Your work happens in Excel: the Rows pane is where you run reports, post back and use Rows Assist. The Rows portal in your browser is for admin, such as colleagues, their access and your plan. One login opens both.
Before you sign in
- A Rows account, and how you signed up: single sign-on (SSO) with Xero, Google, Microsoft, Intuit or Zoho, or an email address and password.
- Rows in Excel for Windows or Mac. Not there yet? Install the Excel add-in first.
- If you already have an account from before Rows, use the same login. Your entities, workbooks and templates are already there.
Sign in to Excel, then the portal
Open Rows in Excel and sign in
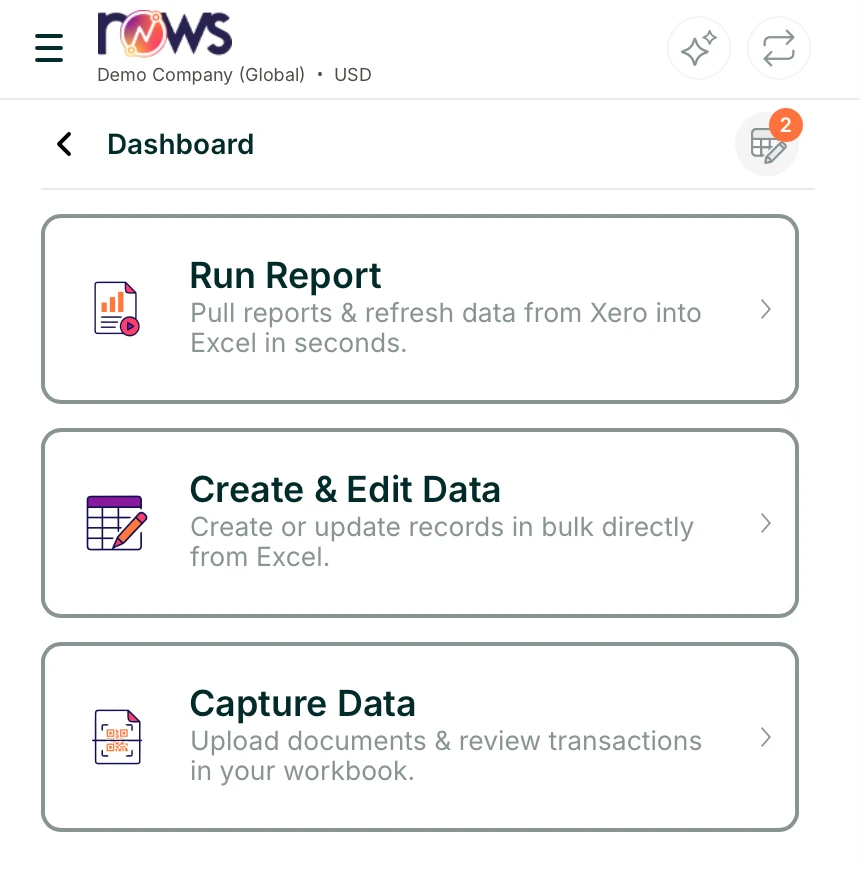
In ExcelOn the Home tab, select Launch Rows add-in. Sign in with single sign-on (SSO), the way we recommend: select the Xero, Google, Microsoft, Intuit or Zoho button. You can also use an email address and password. This is where you'll spend your time: the Dashboard opens Run Report, Create & Edit Data and Capture Data. You stay signed in as long as you open the Rows pane at least once every 30 days.
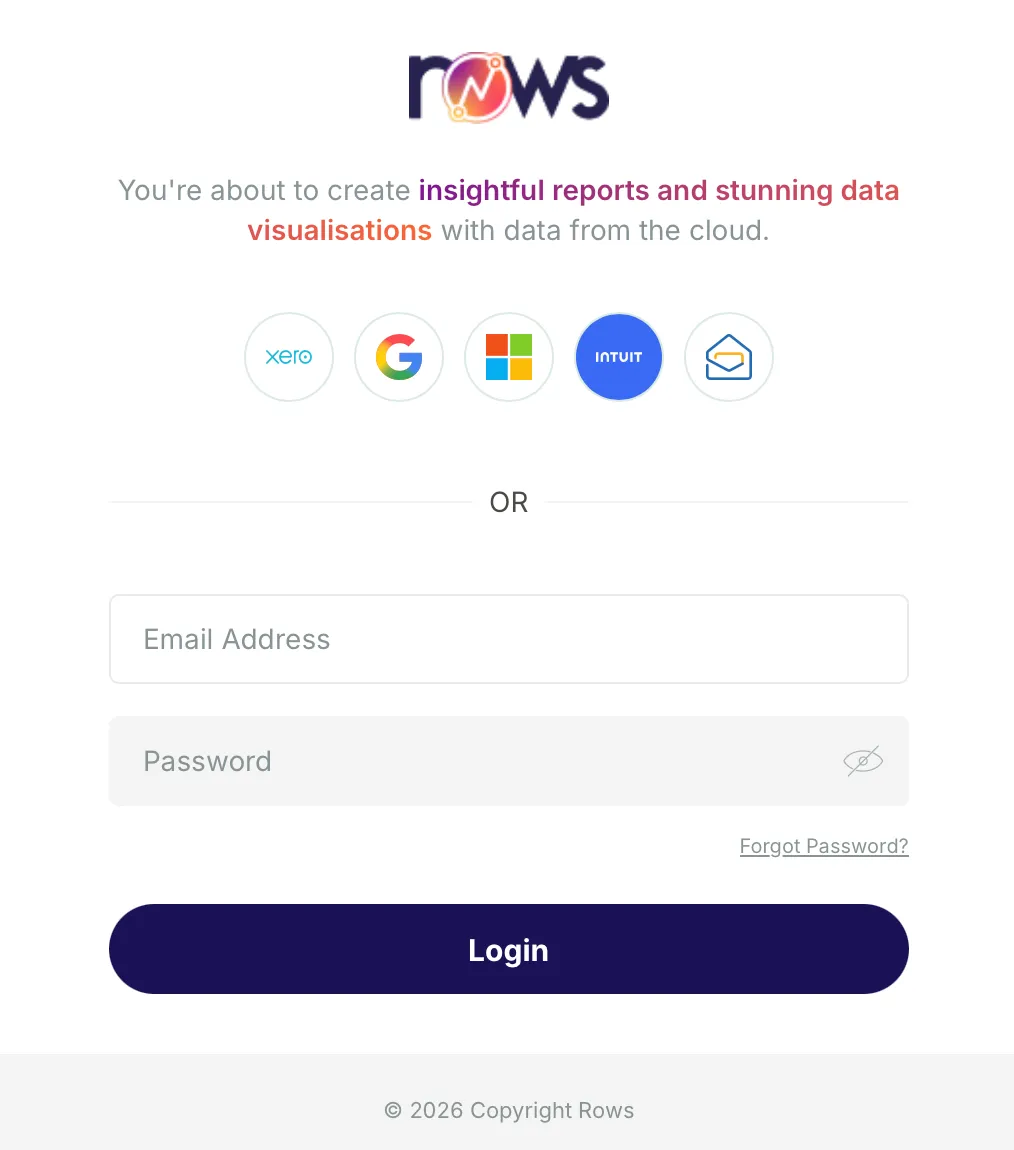
Rows pane, sign in Use the same sign-in every time
In ExcelSign in the way you signed up. If that was with Xero, Google, Microsoft, Intuit or Zoho, use that button, not an email and password. Each way leads to its own Rows account, so a different one opens an account without your entities. With two-factor authentication on, enter the 6-digit code from your authenticator app.
That's Excel. Open the portal when you need the admin side.
Open the Rows portal
In your browserGo to apps.rowsapp.com, or select Log in at the top of any page on this site, and sign in the same way as in Excel. You only need the portal now and then: to connect entities, give colleagues access and manage your plan.
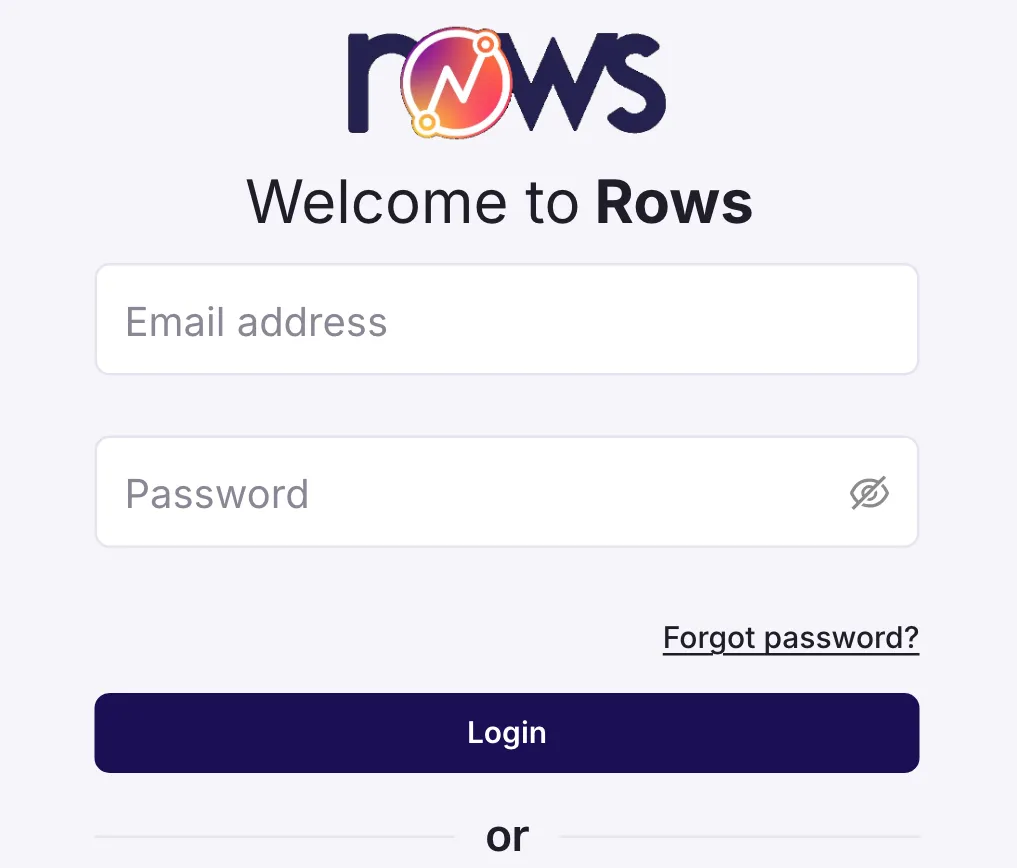
Rows portal, login page Find your way round the portal
In your browserYou land on Home. The first time, it asks you to connect your first entity and lists what happens next. Once you're set up, it shows your plan, your entities and users, and recent activity. The menu on the left opens the admin areas, listed under What's in the Rows portal.
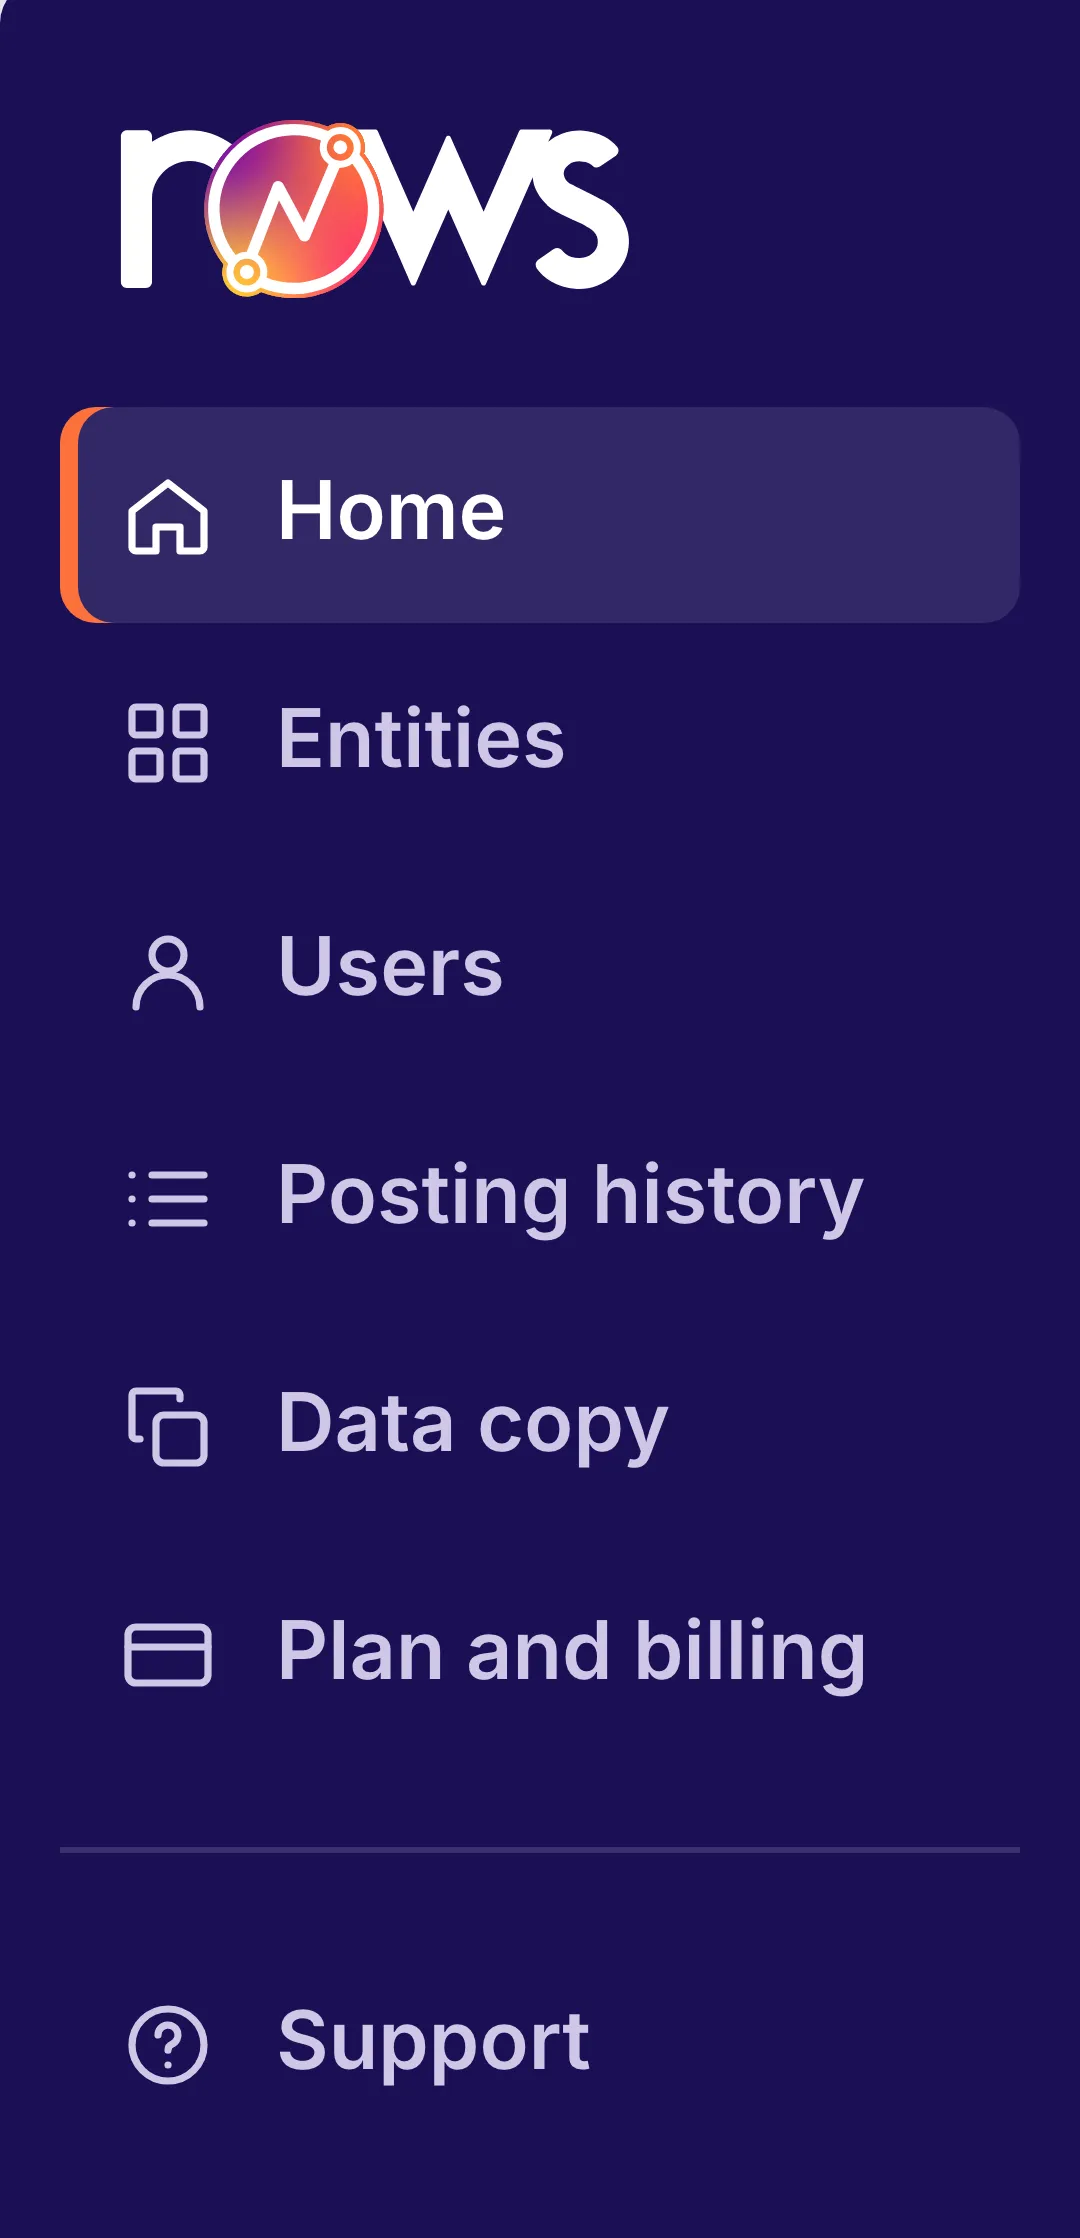
Rows portal, the menu Log out or switch account
In your browserIn Excel, open the menu at the top left of the Rows pane and select Logout. In the portal, select your name at the bottom left, then Logout. To use a different Rows account, log out and sign in with that one.
What's in the Rows portal
The portal is for setting Rows up and deciding who can do what. Reports, posting back, templates, Capture mode and Rows Assist all live in the Rows pane in Excel.
- Home
- What to do next while you set up, then your plan, entity and user counts, and recent activity.
- Entities
- Connect, reconnect or delete your Xero, QuickBooks Online and Zoho Books entities, and group them. See Reconnect or disconnect Xero, QuickBooks Online or Zoho Books.
- Users
- Invite colleagues and choose which entities each one sees. See Add a colleague and choose what they see in Excel.
- Posting history
- Every record posted from Excel through Rows, with the entity, who posted it and when. The account owner sees everyone's posts; everyone else sees their own.
- Data copy
- A downloadable copy of a Xero or QuickBooks Online entity's records for a date range, with or without attachments. It uses data copy tokens.
- Plan and billing
- Your plan, your trial and billing. Only the account owner sees it.
- Support
- Opens this help centre.
- Your name
- At the bottom left, with your trial or plan: Profile, the language and Logout.
Keep your account safe
Your Profile has two tabs. Account & security is where you turn on two-factor authentication (a 6-digit code from an authenticator app each time you sign in) and change your password. To change your email address, select Edit details. Login history lists every sign-in with its date and IP address: if one isn't yours, change your password and tell us.

If you can't sign in or your entities are missing
I forgot my password
On the login page, select Forgot password?, enter your email address and select Send reset link. The email has a link to set a new password; check your spam folder if it hasn't come. Signed up with Xero, Google, Microsoft, Intuit or Zoho? You have no Rows password: use that button to sign in.
I'm signed in but my entities aren't there
You've probably signed in a different way from when you signed up, which opens a different Rows account. Log out and sign in the way you signed up. If a colleague added you, you only see the entities they chose for you, so ask them.
Rows in Excel asks me to sign in again
Rows keeps you signed in unless you log out, clear your cookies or go 30 days without opening the Rows pane. Sign in the same way as before. Your workbooks, entities and reports are unchanged.
Sign-in goes round in a loop or picks the wrong account
If you use more than one Google or Microsoft login, your browser may choose the wrong one. Log out of Rows, sign out of that Google or Microsoft login in your browser (or use a private window), then sign in again.
Next step
Next guideConnect Xero to ExcelSign in, allow access in Xero and pick your entity. Reconnecting is covered too.On QuickBooks Online or Zoho Books? Follow Connect QuickBooks Online to Excel or Connect Zoho Books to Excel instead. Looking for something else? Browse every guide in the Help centre.
Talk to a person
Email support
Tell us what you see on screen. We reply within 24 hours on working days.
support@rowsapp.comBook an onboarding call
Free during your trial. We'll connect your entities with you and set up your first live report.
Book a call