Set up
Get started with Rows
Six steps from signing up to a profit and loss in Excel that you refresh in one click.
- Less than 2 minutes


 Xero, QuickBooks Online, Zoho Books and more
- Excel for Windows and Mac
Before you start
- A login for Xero, QuickBooks Online or Zoho Books with access to the entity you want to use. In Xero, a standard or adviser role is enough.
- Any recent version of Excel for Windows or Mac that can install add-ins.
- On a work computer, permission to add Excel add-ins. If you're not sure, ask your IT team before step 3.
From blank workbook to live report
Start your free trial
In your browserGo to the Rows sign-up page and register with your email, or continue with Xero, Google, Microsoft or Intuit. You'll sign in to Excel the same way, and the Rows pane in Excel has no Zoho sign-in, so pick one of these even if your books are in Zoho Books. The trial runs for 14 days and needs no card. You land in the Rows portal, where a short checklist shows what's left to set up. Online sign-up opens on 20 November. Until then, request a trial and we'll set your account up within one working day.
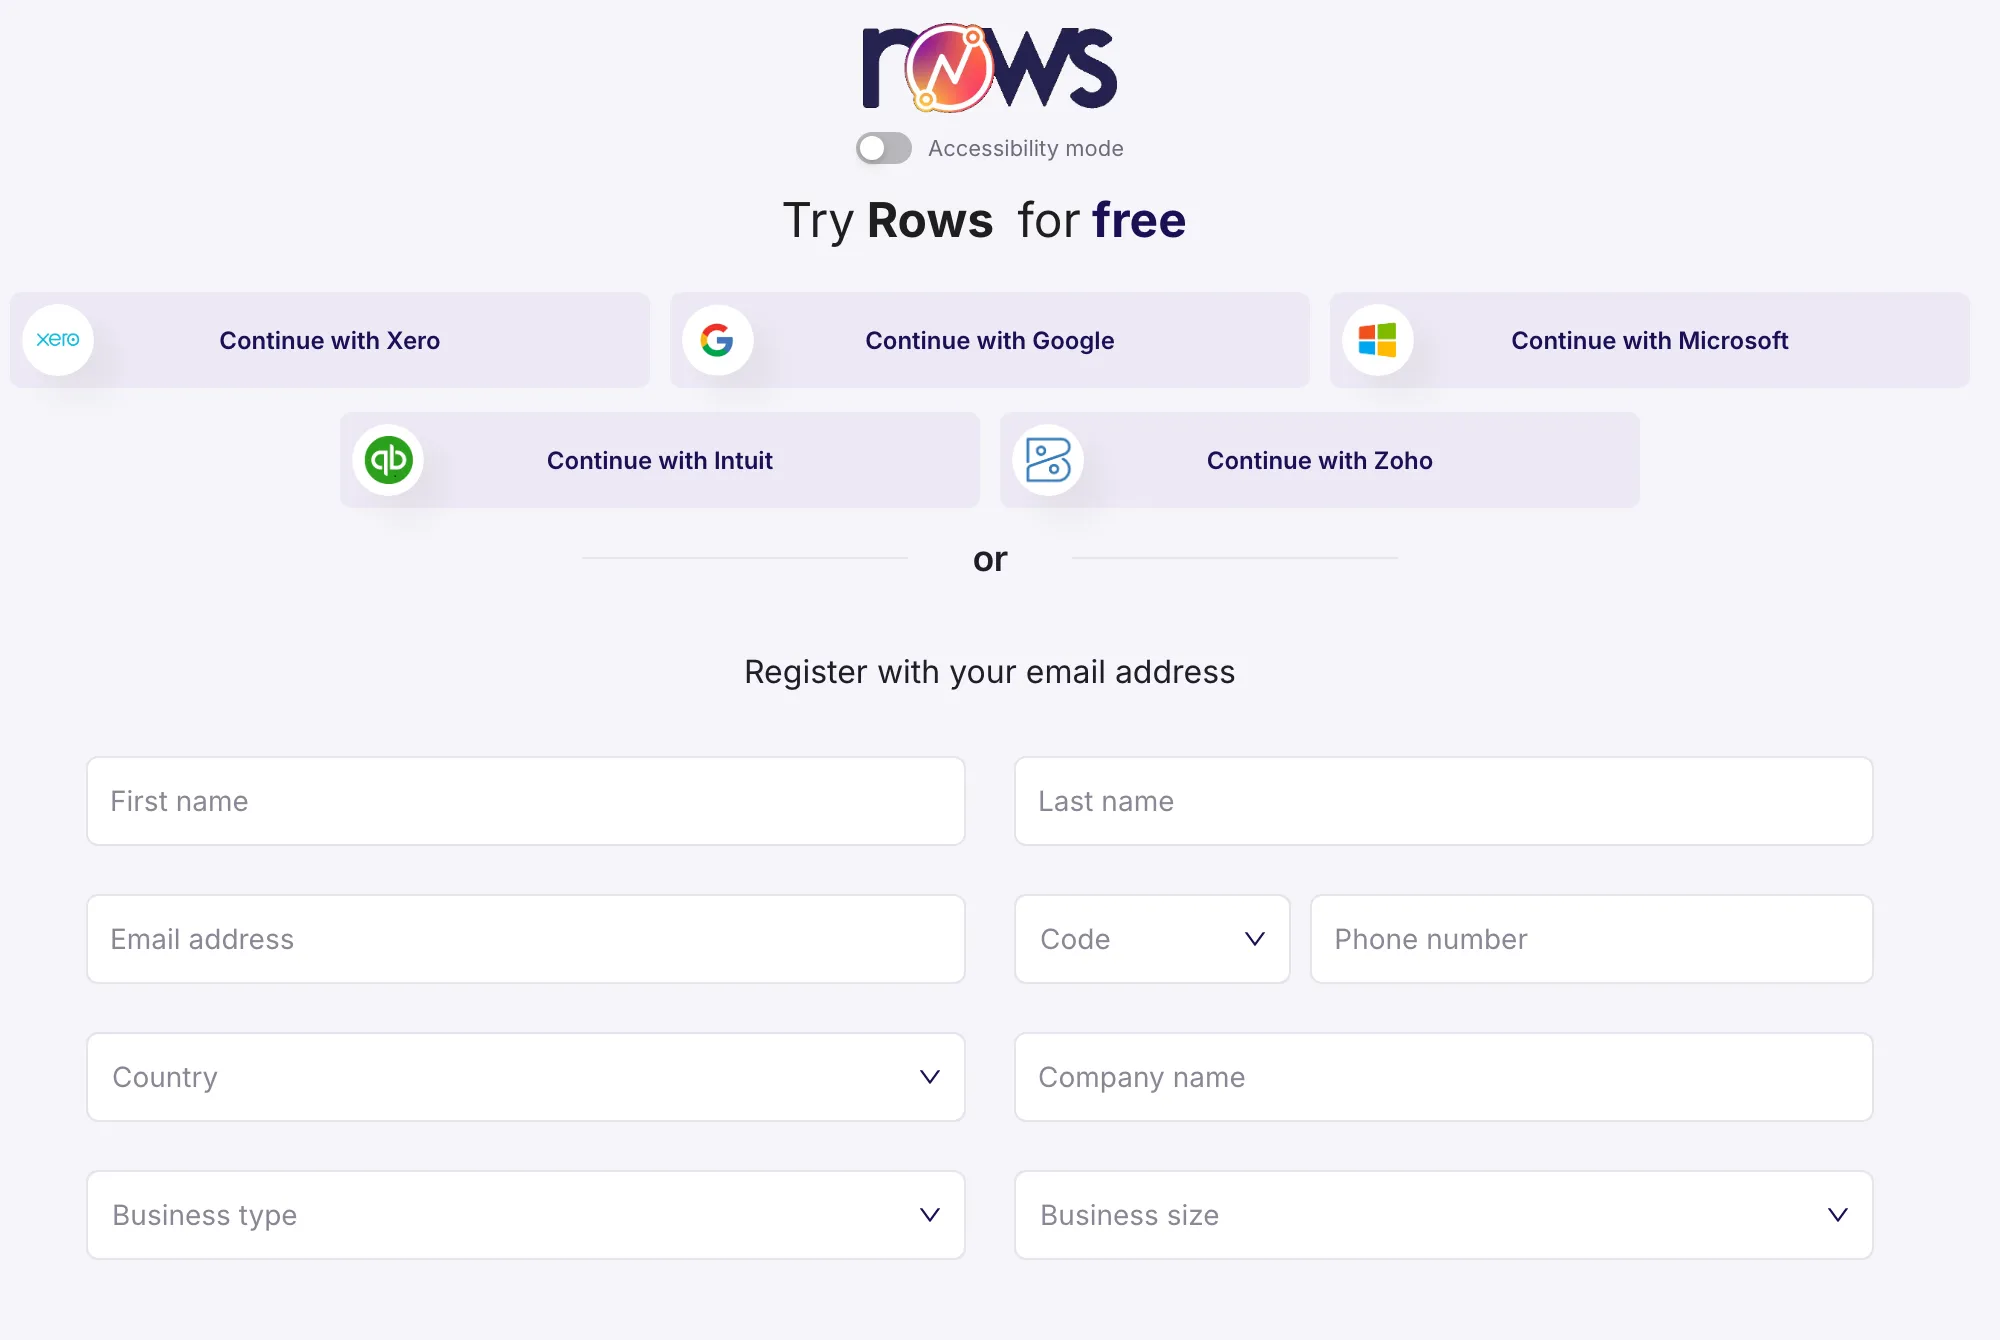
Rows sign-up page 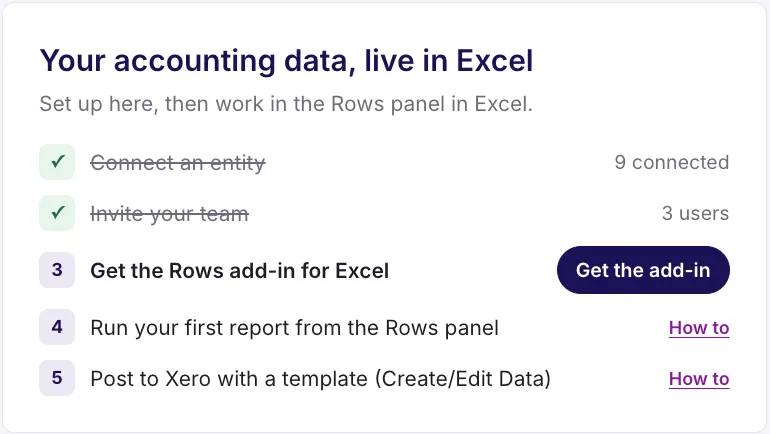
Rows portal, Home Connect your books
In your browserIn the Rows portal, open Entities and select Connect entity. Pick Xero, QuickBooks Online or Zoho Books, log in there and allow Rows access to the entity you want. Step by step: Connect Xero to Excel or Connect QuickBooks Online to Excel. On Zoho Books, choose the Zoho Books tile, sign in to Zoho and allow access the same way. The entity then shows as Connected under Entities.

Rows portal, Connect an entity
Leave the portal open. Now switch to Excel.
Add Rows to Excel
In ExcelOpen Excel. On the Home tab, select Add-ins, then More Add-ins. Search for Rows and select Add. Rows opens on the right and adds Launch Rows add-in to the Home tab. Stuck here? See Install the Excel add-in.

Excel for Mac, Home tab 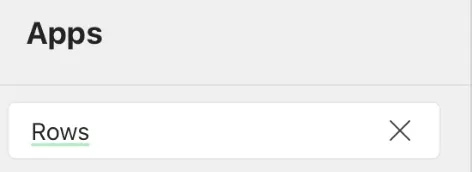
Add-in store, search Sign in and pick your entity
In ExcelIf the Rows pane isn't open, select Launch Rows add-in on the Home tab. Sign in the same way you signed up in step 1, then pick your entity under Choose your Entity and select Continue.
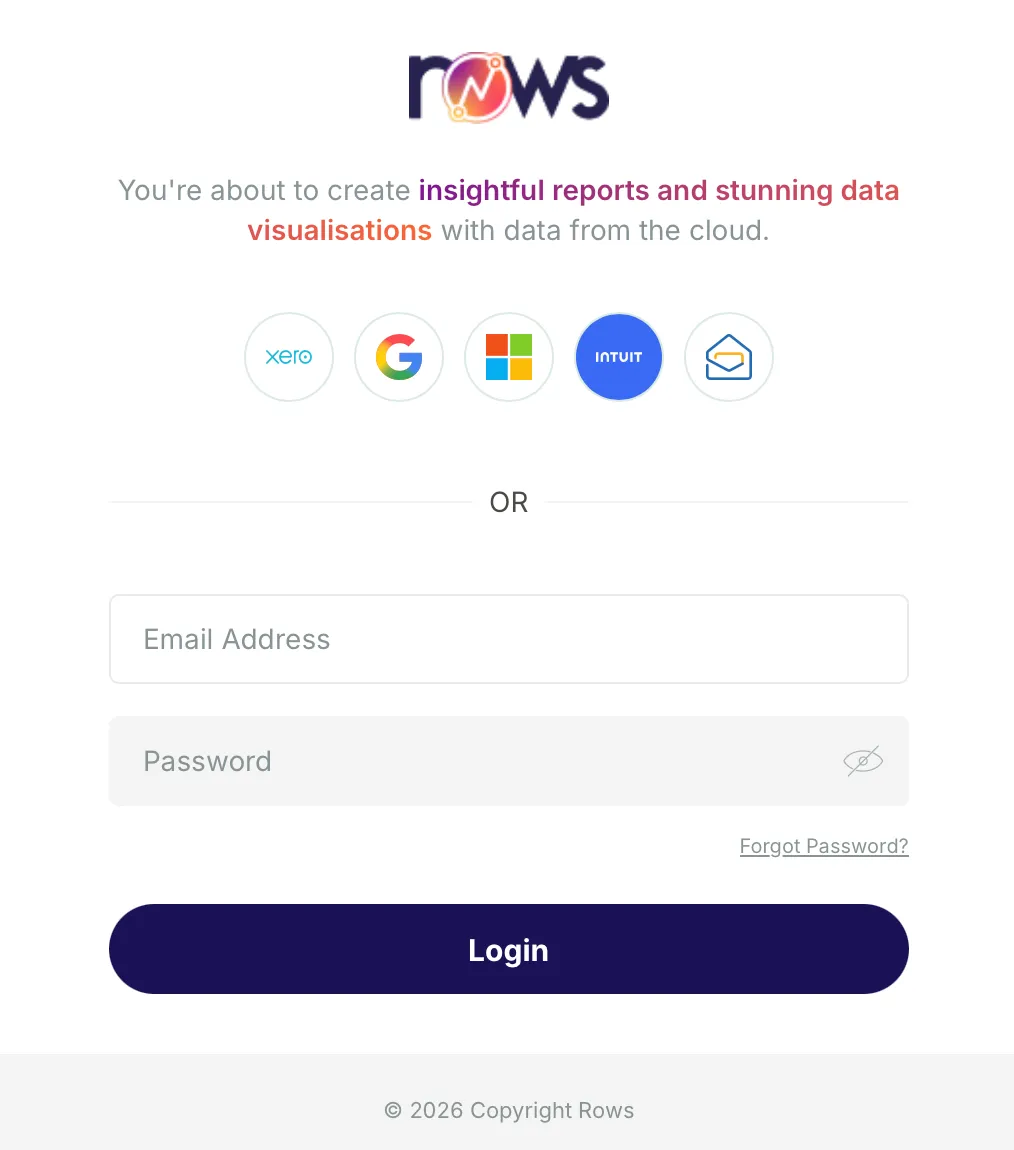
Rows pane, sign in 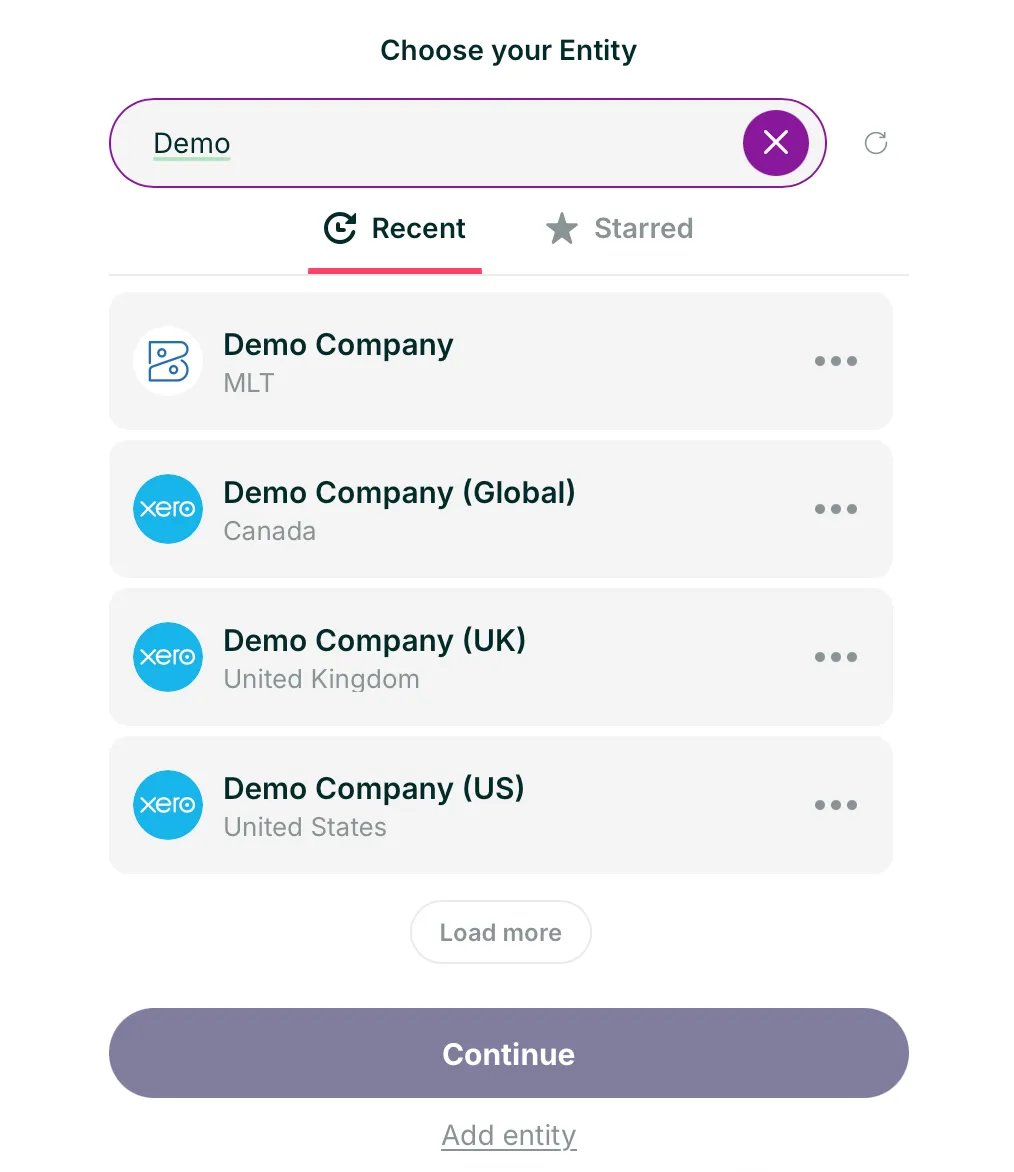
Rows pane, Choose your Entity Run your first report
In ExcelSelect Run Report, search for profit and pick Profit and Loss - Multiple Periods. Choose your dates, then select Run Report. The figures land as ordinary Excel cells, so your own formulas and formats work on them. More in Pull your first report.
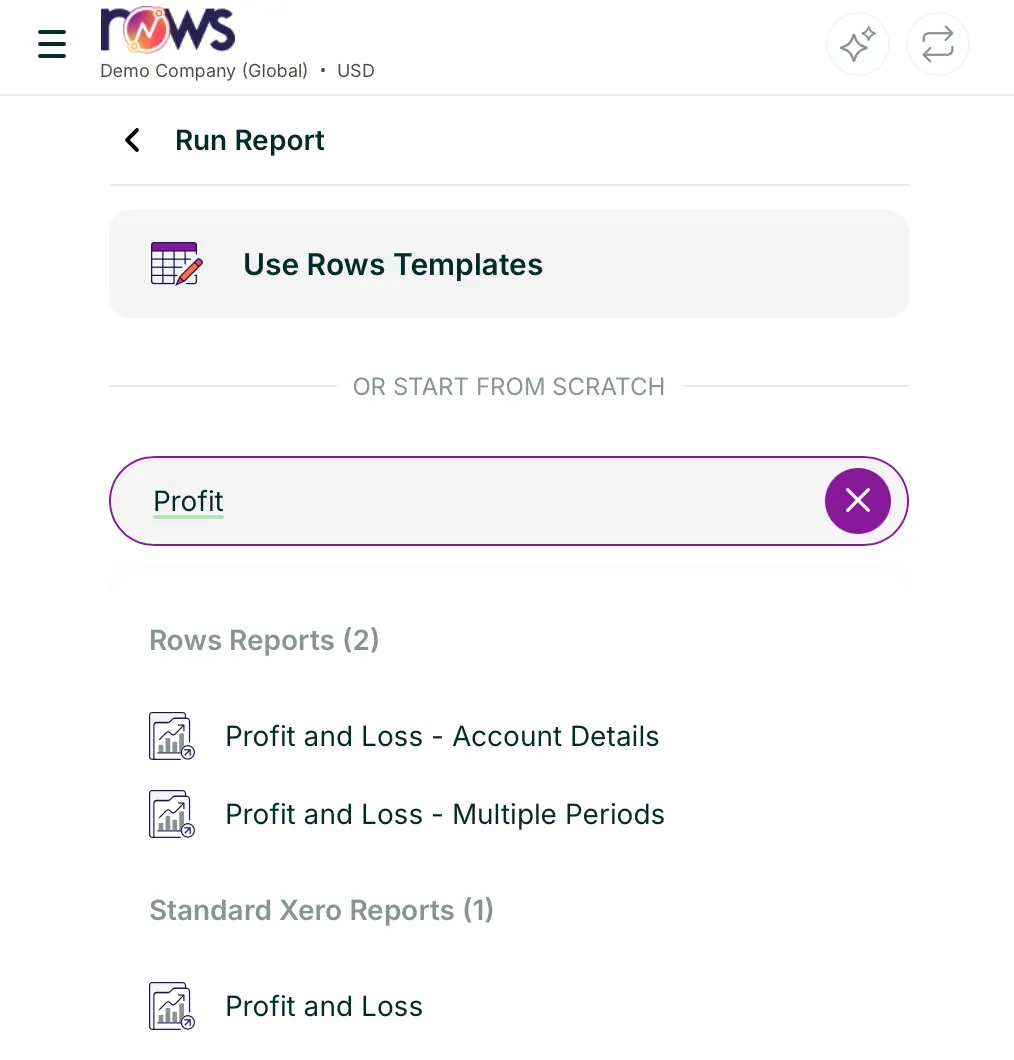
Rows pane, Run Report 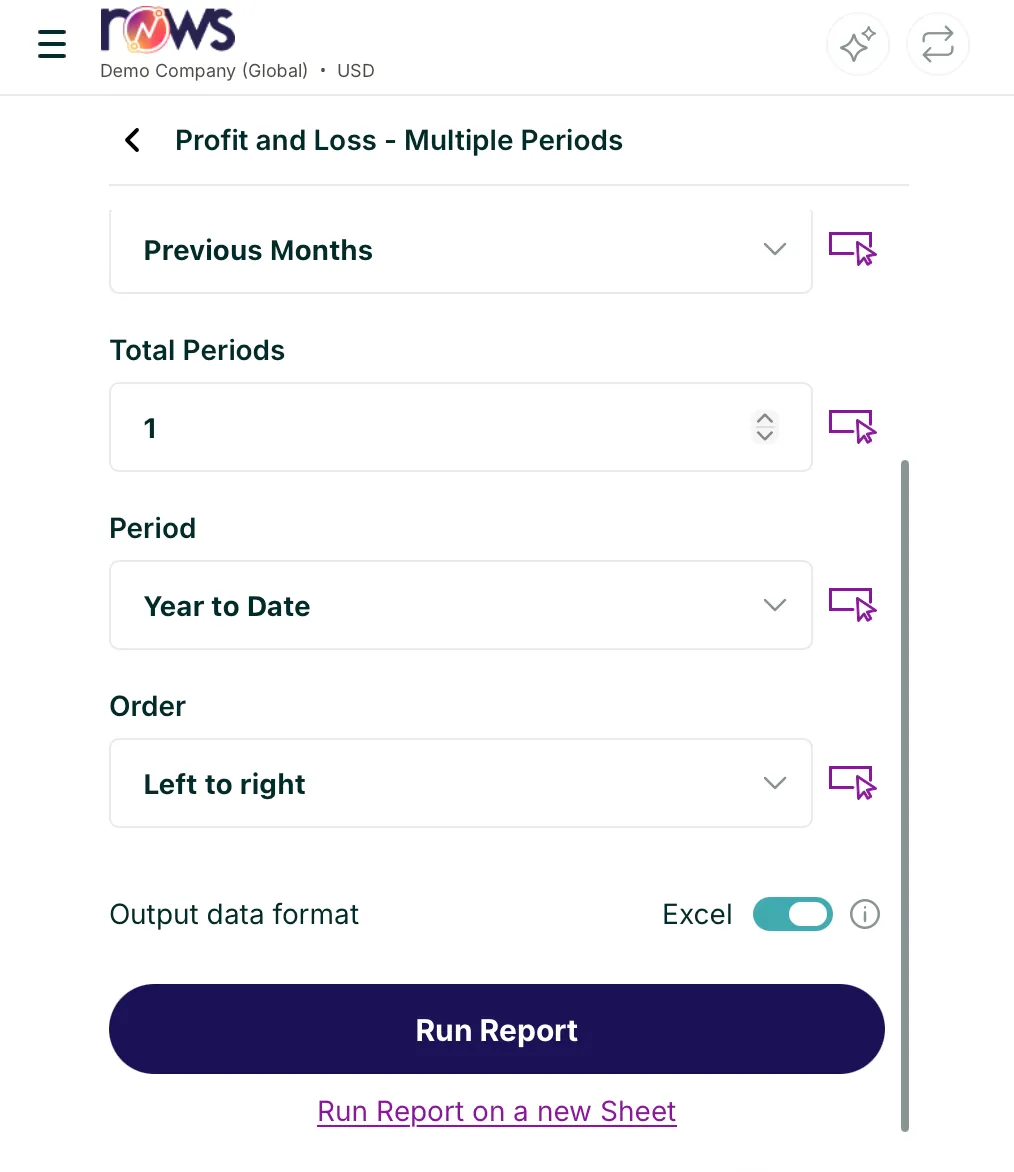
Rows pane, report settings 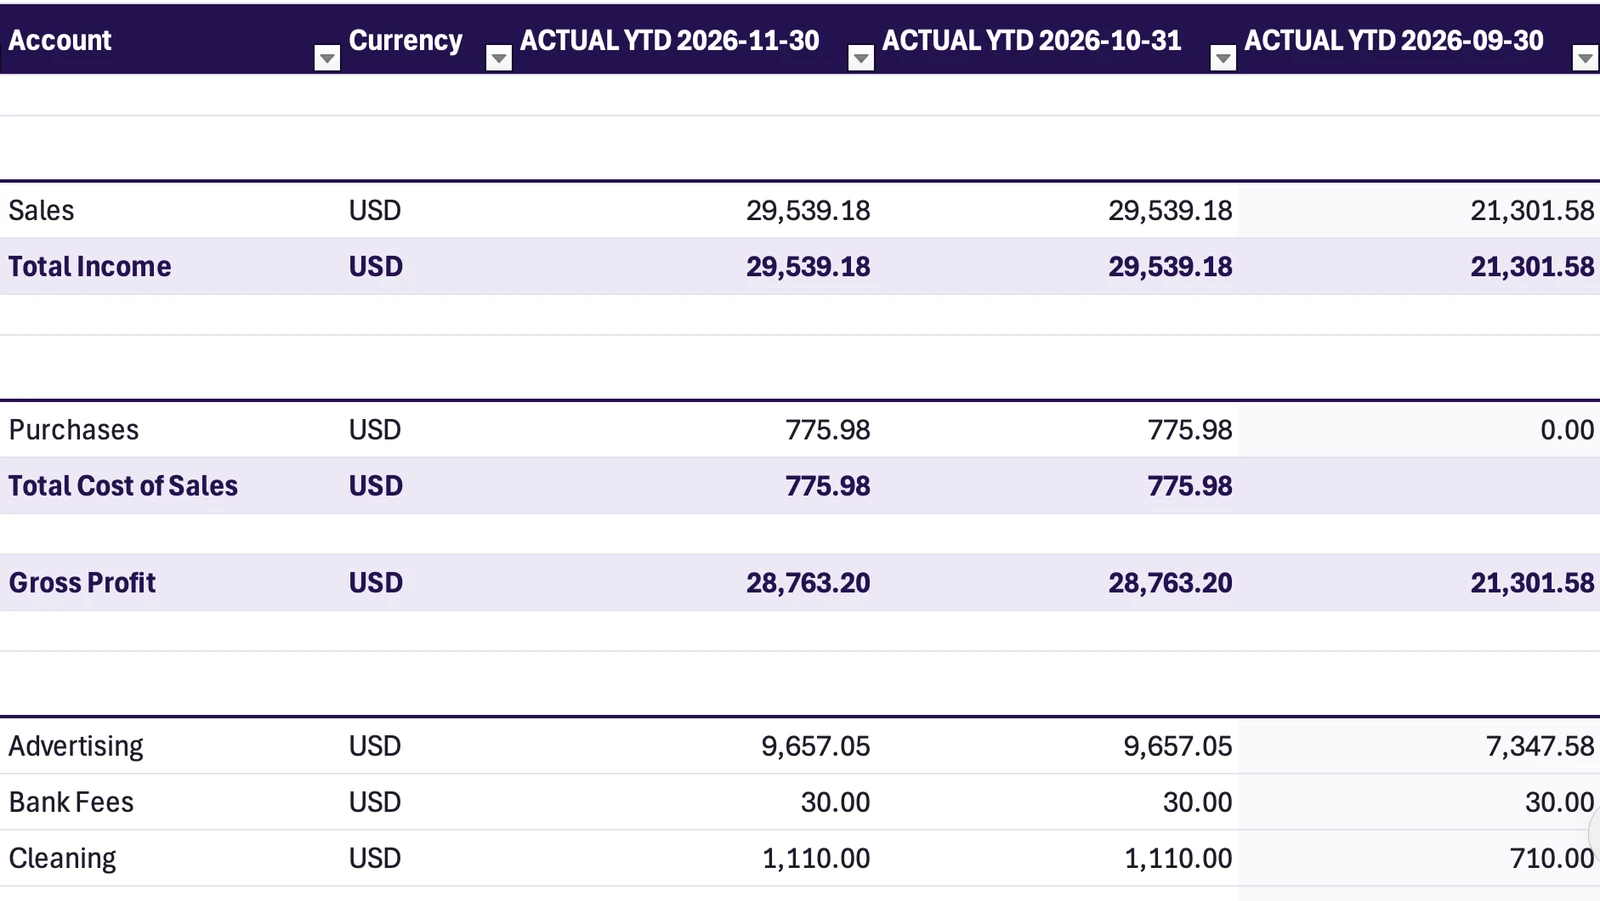
Excel for Mac, Profit and Loss - Multiple Periods Refresh when the books change
In ExcelWhen new transactions reach your books, select Refresh in the Rows pane. The figures update in place and the card shows the time of the last sync. To update several reports at once, tick their cards and select Refresh selected sheets.
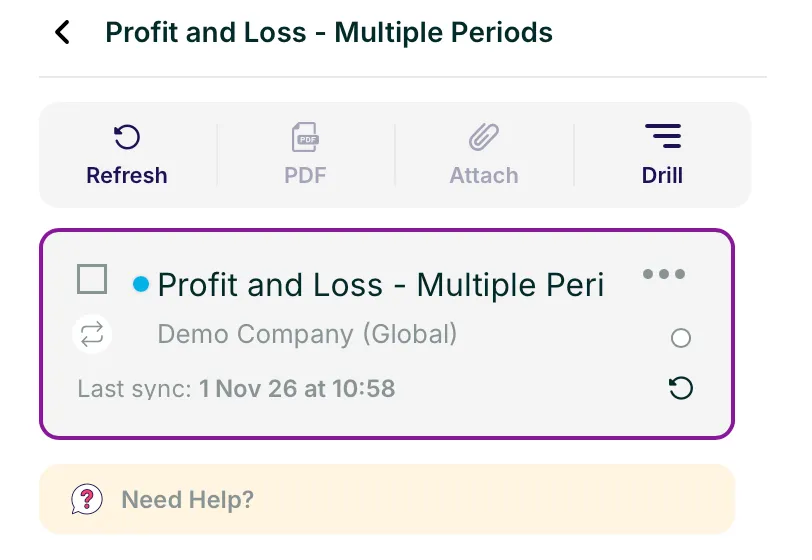
Rows pane, report card

If something goes wrong
There's no Add-ins button on my Home tab
In some versions of Excel it's on the Insert tab, under Get Add-ins. Start there, then carry on from step 3.
Rows doesn't come up when I search Add-ins
On a work computer, your IT team may have turned off add-ins from the store. They can allow Rows, or add it for everyone from the Microsoft 365 admin centre.
I signed in but see no entities
You probably signed in a different way from step 1, so Rows opened another account. Open the pane menu, select Logout and sign in again the way you signed up.
I signed up with Zoho and can't sign in to Excel
The Rows pane in Excel has no Zoho sign-in. Email support from the address you signed up with, and the team will set you up with a sign-in that works in Excel.
My entity isn't in the list in Excel
Entities are connected in your browser first, in step 2. Check the entity shows under Entities in the Rows portal, then select the refresh arrow next to Search Entities in the Rows pane.
Rows says the entity needs reconnecting
Open Entities in the Rows portal. The Connection column shows Reconnect next to that entity: select it and allow access in Xero, QuickBooks Online or Zoho Books again.
Can colleagues use the same entity?
In the Rows portal, open Users and select Add user. Each person signs in with their own login and sees only the entities you give them.
Next step
Next guideUse a report templateOpen a ready-made workbook from the Templates Library, in the Rows portal or the Rows pane, and fill it with your own entity's data.Looking for something else? Browse every guide in the Help centre.
Talk to a person.
Email support
Tell us what you see on screen. We reply within 24 hours on working days.
support@rowsapp.comBook an onboarding call
Free during your trial. We'll connect your entities with you and set up your first live report.
Book a call