Set up
Install the Excel add-in
Add Rows to Excel from Microsoft's add-in store. You only do it once: Rows follows your Microsoft account to any computer where you sign in to Excel, and waits on your Home tab.
Before you start
- Any recent version of Excel for Windows or Mac that can install add-ins, signed in with your Microsoft account. Rows runs in the Excel desktop app.
- A Rows account. New to Rows? Get started with Rows walks you through signing up.
- On a work computer, permission to add add-ins from the store. If you're not sure, ask your IT team first.
Five steps, all in Excel
Open Add-ins
In ExcelOpen Excel with any workbook. On the Home tab, select Add-ins.

Excel for Mac, Home tab Open the add-in store
In ExcelAt the bottom of the menu that opens, select More Add-ins. The store opens in its own window.
Add-ins menu Search for Rows
In ExcelType Rows in the search box. The first result, with the Rows logo, is Rows: Xero, QuickBooks and Zoho Books live in Excel. Select it to open its page. You can also start from Rows on Microsoft Marketplace in your browser and select Get it now.
Add-in store, search Select Add
In ExcelOn the Rows page, select Add. Rows installs straight away. There are no terms to accept.
Add-in store, Rows page Open Rows and sign in
In ExcelRows opens on the right of the sheet, and Launch Rows add-in now sits at the right of the Home tab, ready for next time. Sign in the same way you signed up (email, Xero, Google, Microsoft or Intuit).
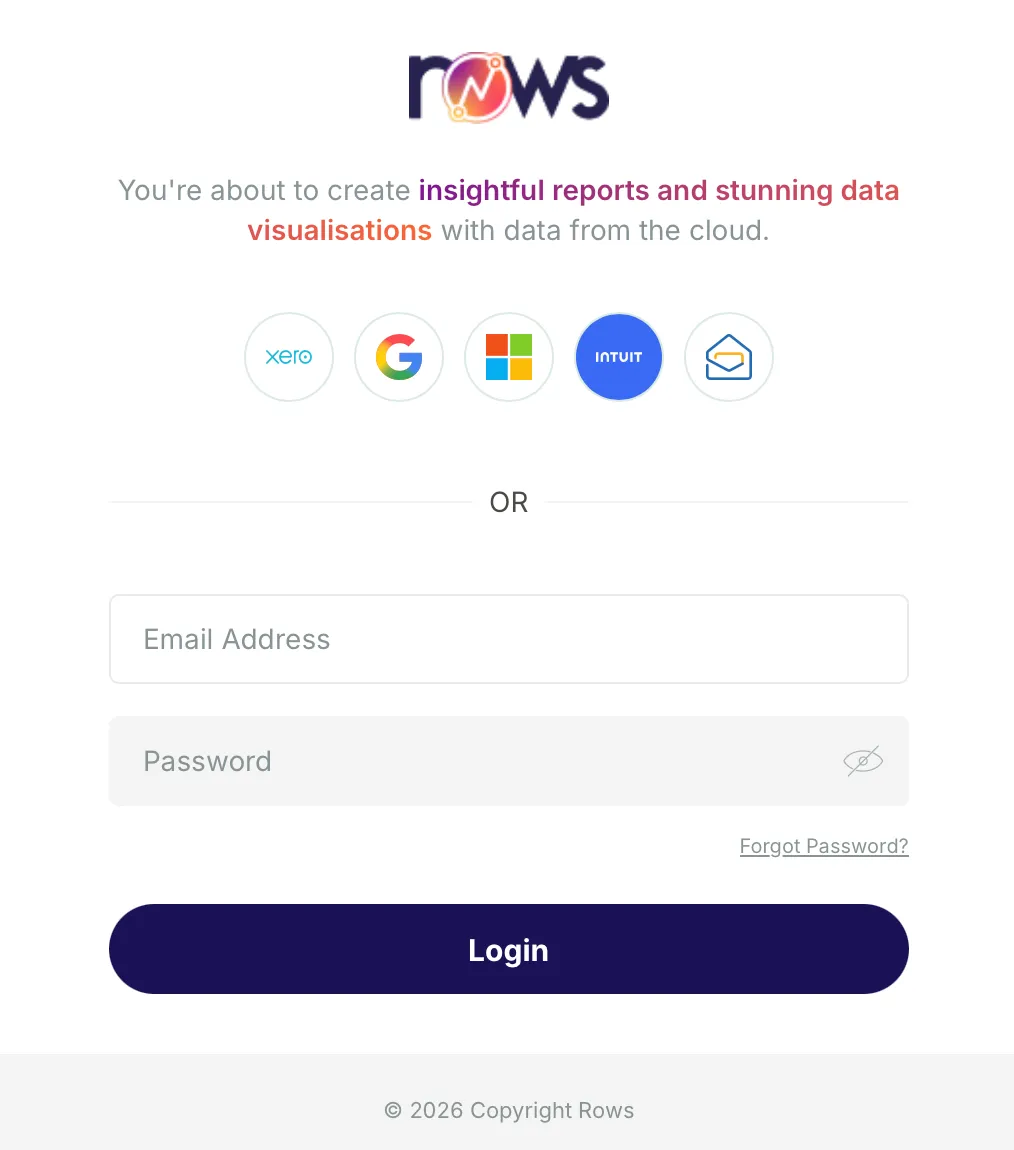
Rows pane, sign in
On Excel for Windows the steps are the same: Home, Add-ins, More Add-ins.
If something goes wrong
There's no Add-ins button on my Home tab
In some versions of Excel it's on the Insert tab, under Get Add-ins. Start there and carry on from step 2.
Rows doesn't come up when I search
Check you're in the store window (More Add-ins), not the small menu before it, which only searches add-ins you already have. On a work computer, your IT team may have turned off the store. They can allow Rows, or add it for everyone from the Microsoft 365 admin centre.
Launch Rows add-in has gone from my Home tab
Select Add-ins on the Home tab. Rows is listed there: select it to open the pane again.
Do I need to install Rows on each computer?
No. Add-ins follow your Microsoft account, so Rows appears on any computer where you sign in to Excel with the same account.
Next step
Next guideConnect Xero to ExcelConnect your Xero entity in the Rows portal, then pick it in the Rows pane.On QuickBooks Online? Follow Connect QuickBooks Online to Excel instead. Looking for something else? Browse every guide in the Help centre.
Talk to a person.
Email support
Tell us what you see on screen. We reply within 24 hours on working days.
support@rowsapp.comBook an onboarding call
Free during your trial. We'll connect your entities with you and set up your first live report.
Book a call